1/10 Getting Started (Preview)

Getting Started
Exploring the expressive use of line on a single object.

LESSON PREPARATION
Getting ready to view the lesson
If you are watching the video tutorial on a computer (eg laptop, interactive whiteboard, digital projector) you can view the PDF recources on the screen.
If you are watching the video tutorial on a television, you may want to print the Workshop PDF on this page ahead of time, from your computer.
This lesson, Still Life 1/10 Resources, contains the following:
Still Life 1/10 Lesson Overview
Still Life 1/10 Activity
Still Life 1/10 Extension
Still Life 1/10 Posters (available in PDF)
These are posters of the finished artworks as created in the episode. You can choose to view this on the screen or whiteboard, you can print in black and white, or colour, or all of the above.
MATERIALS USED IN THIS LESSON
Selection of hard and soft pencils, eg 2H, H, F and B, 2B, 4B, 6B, 8B.
Kneadable eraser.


EQUIPMENT USED IN THIS LESSON
Paper, Drawing board & clip, easel


SUBJECTS USED IN THE VIDEO LESSON
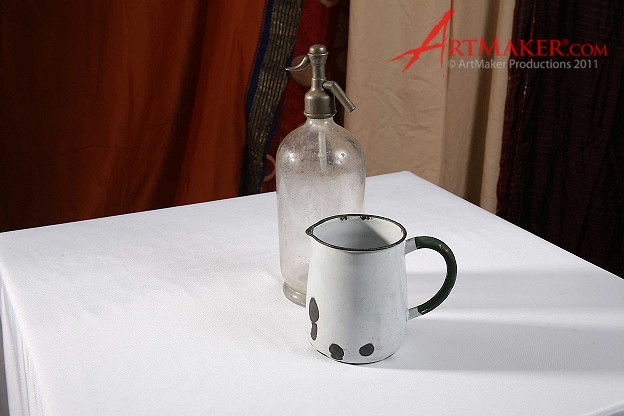
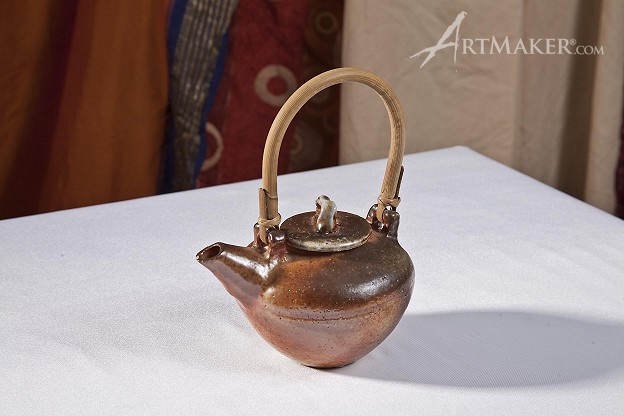
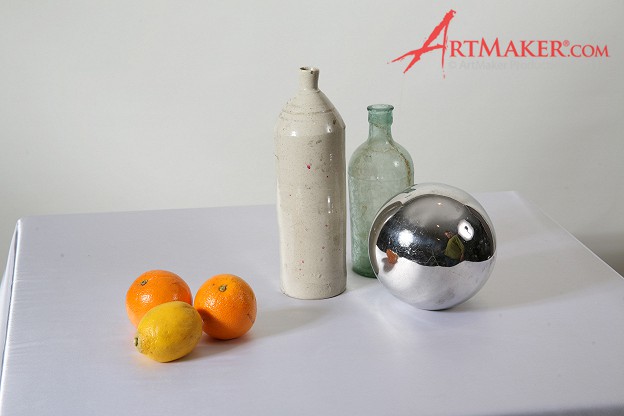
White mug, orange, lemon, apple, small teapot, empty transparent wine bottle.
1) First establish your eye-line to determine your viewpoint.
2) Do not “write” your drawing with your body caught up close to the paper. Standing back gives you freedom of movement and a clear overview of your work and progress.
3) Sharp, dark lines come forward on your picture plane, soft light lines recede into the distance.
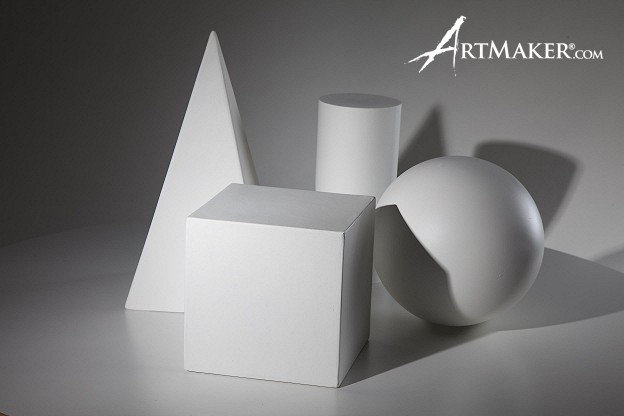
4) Start by breaking all objects down into basic shapes.
5) Make the most of your body’s natural mechanics to create smooth lines and arcs.
6) Draw symmetrical objects around an axis.
7) Avoid adding detail until your basic shapes are correct
8) Don’t be afraid to add guide lines for yourself. These can be erased later.
9) Shadows are important for volume as well as context.
10) Take the time to get up close and study the subject so that your drawing will have more accurate feel.
11) The more you draw the better you get!
In the video tutorial, we draw a lemon, a semi-opaque glass bottle and a teapot.
Find some similar, but different objects to draw, eg: an apple, a wine glass, a vase.
First draw each item by itself. Then group the items and draw them together. You will need lots of paper!
Keep your pencil in constant contact with the paper. Do not lift your pencil at all until you have completed the entire drawing. Do not use your eraser!
This is a great way to loosen up your drawing technique.
Video Tutorial


Download the PDF of this Workshop