2/10 Line and Transparency (Preview)
Line and Transparency
Solve the challenges of drawing multiple objects sitting in front of each other.

LESSON PREPARATION
Getting ready to view the lesson
If you are watching the video tutorial on a computer (eg laptop, interactive whiteboard, digital projector) you can view the PDF recources on the screen.
If you are watching the video tutorial on a television, you may want to print the Workshop PDF on this page ahead of time, from your computer.
This lesson, Still Life 2/10, contains the following:
Still Life 2/10 Lesson Overview
Still Life 2/10 Activity
Still Life 2/10 Extension
Still Life 2/10 Posters (available in PDF)
These are posters of the finished artworks as created in the episode. You can choose to view this on the screen or whiteboard, you can print in black and white, or colour, or all of the above.
MATERIALS USED IN THIS LESSON
Range of graphite pencils, kneadable eraser and plastic/vinyl eraser.


EQUIPMENT USED IN THIS LESSON
Drawing board, clips, easel and spot lightyes


SUBJECTS USED IN THE VIDEO OF THIS LESSON
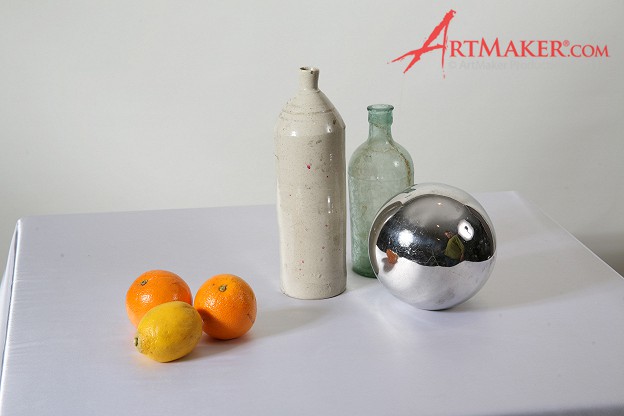
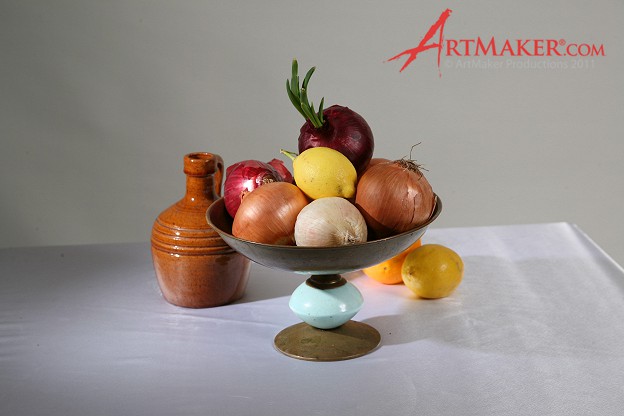
Fruit bowl with assortment of fruit; eg Lemons & Oranges, Large and Medium sized bottle.
1. When objects sit in front of one another, pretend you have x-ray vision and imagine everything is transparent.
2. Draw the objects over each other and erase unseen parts that are covered by foreground objects.
3. This is especially the useful for symmetrical objects, where the hidden parts can be easily imagined, as in the case of bottles or a bowl of oranges.
4. If the initial lines are drawn lightly enough, then with the edition of shading or stronger line to strengthen the closer objects, then no erasing is necessary.
5. You can also choose to leave all the initial lines in place showing the workings of the drawing, this gives more the idea of the still life and its rhythm.
6. Erasing extra lines takes away any ambiguity and brings clarity to the drawing.
7. Objects in the foreground are drawn with more strength and clarity, leaving the lighter, softer background objects to recede.
8. If we start drawing with a pencil on its side, we can use the soft mark to explore the objects without too much commitment.
9. By tilting our pencil toward the point, the sharper mark brings greater definition and allows us to sharpen focus on certain forms
10. We generally start with light soft marks and finish with darker and sharper marks.
11. “Glue ” your still life objects to the table with darker marks. In the case of a bottle or cylindrical object, the forward eliptical base is sharper in the centre and soft on the sides.
12. Soft marks recede and sharp dark marks come forward.
13. There is a shadow created when objects touch each other. Create this with a soft line built up with repeated pencil strokes from the side of your pencil.
14. This is also true of the point where spherical forms touch the table. You want to create a soft dark mark that doesn”t jump in front of the near side of the object.
Set up a still life where two or more objects are grouped together, these could be bottles one in front of the other or fruit or even a fruit bowl.
Draw as if you have x-ray vision.
Keep the objects simple, and remember to draw with the pencil on it”s side, or held from above, fingers on one side thumb on the other.
1. This line drawing could go over the top of a recycled page. Recycle old drawings by whiting out the old drawing with either pastel or scraping on gouache background white. Let some “history” happen on the page.
2. Set up a bowl of oranges and draw everything as per the tutorial, don”t erase but strengthen the closest oranges and lip of the bowl. Then this can be partially erased, refer to the work of artist Alberto Giacometti.
3. Set up lots of objects of all shapes and sizes and plan on filling the page with drawing.
4. Draw a still life with transparency and chose one object to emphasis with, much darker marks; this starts the idea subject matter or focal point. It is not always the closest object that gets all the attention, you the artist have chosen the focus.
Keep your pencil in constant contact with the paper. Do not lift your pencil at all until you have completed the entire drawing. Do not use your eraser!
This is a great way to loosen up your drawing technique.
Video Tutorial


Download the PDF of this Workshop